Over the past several months, we’ve been developing and testing a free-standing modification of our flagship Tensa4 hammock stand. We are now processing materials to offer this kit for sale in early 2025. We’ve shared most information so far across social media. This post compiles much of that into one place, also offering DIY tips.

Why Freestanding?
Our original Tensa4 design is well loved for its simplicity and versatility. With only two feet on the ground, it works well in tight spaces and on slopes, but relies on at least one guyline to remain stable. This is a dealbreaker for some, especially indoors where attaching guylines isn’t always practical.
We’ve been tinkering for years to make Tensa4 freestanding. Many schemes worked, but often sacrificed capacity, stability, portability, or ease of use. We made a breakthrough in August 2024 with a surprisingly simple approach. Behold!

Key features
- Compact footprint: hangs a 12′ hammock properly in a room as small as 7′x9′. The tripod base, of only 17 square feet, allows placement in corners with the foot end floating over furniture.
- Portable and lightweight: When packed without the standard Tensa4 guylines and anchors, Tensa4-FS weighs only 16 pounds and packs into a bundle 20″ long and 6″ around. One person can easily move the stand fully set up with hammock hung, with no need to reset guylines.
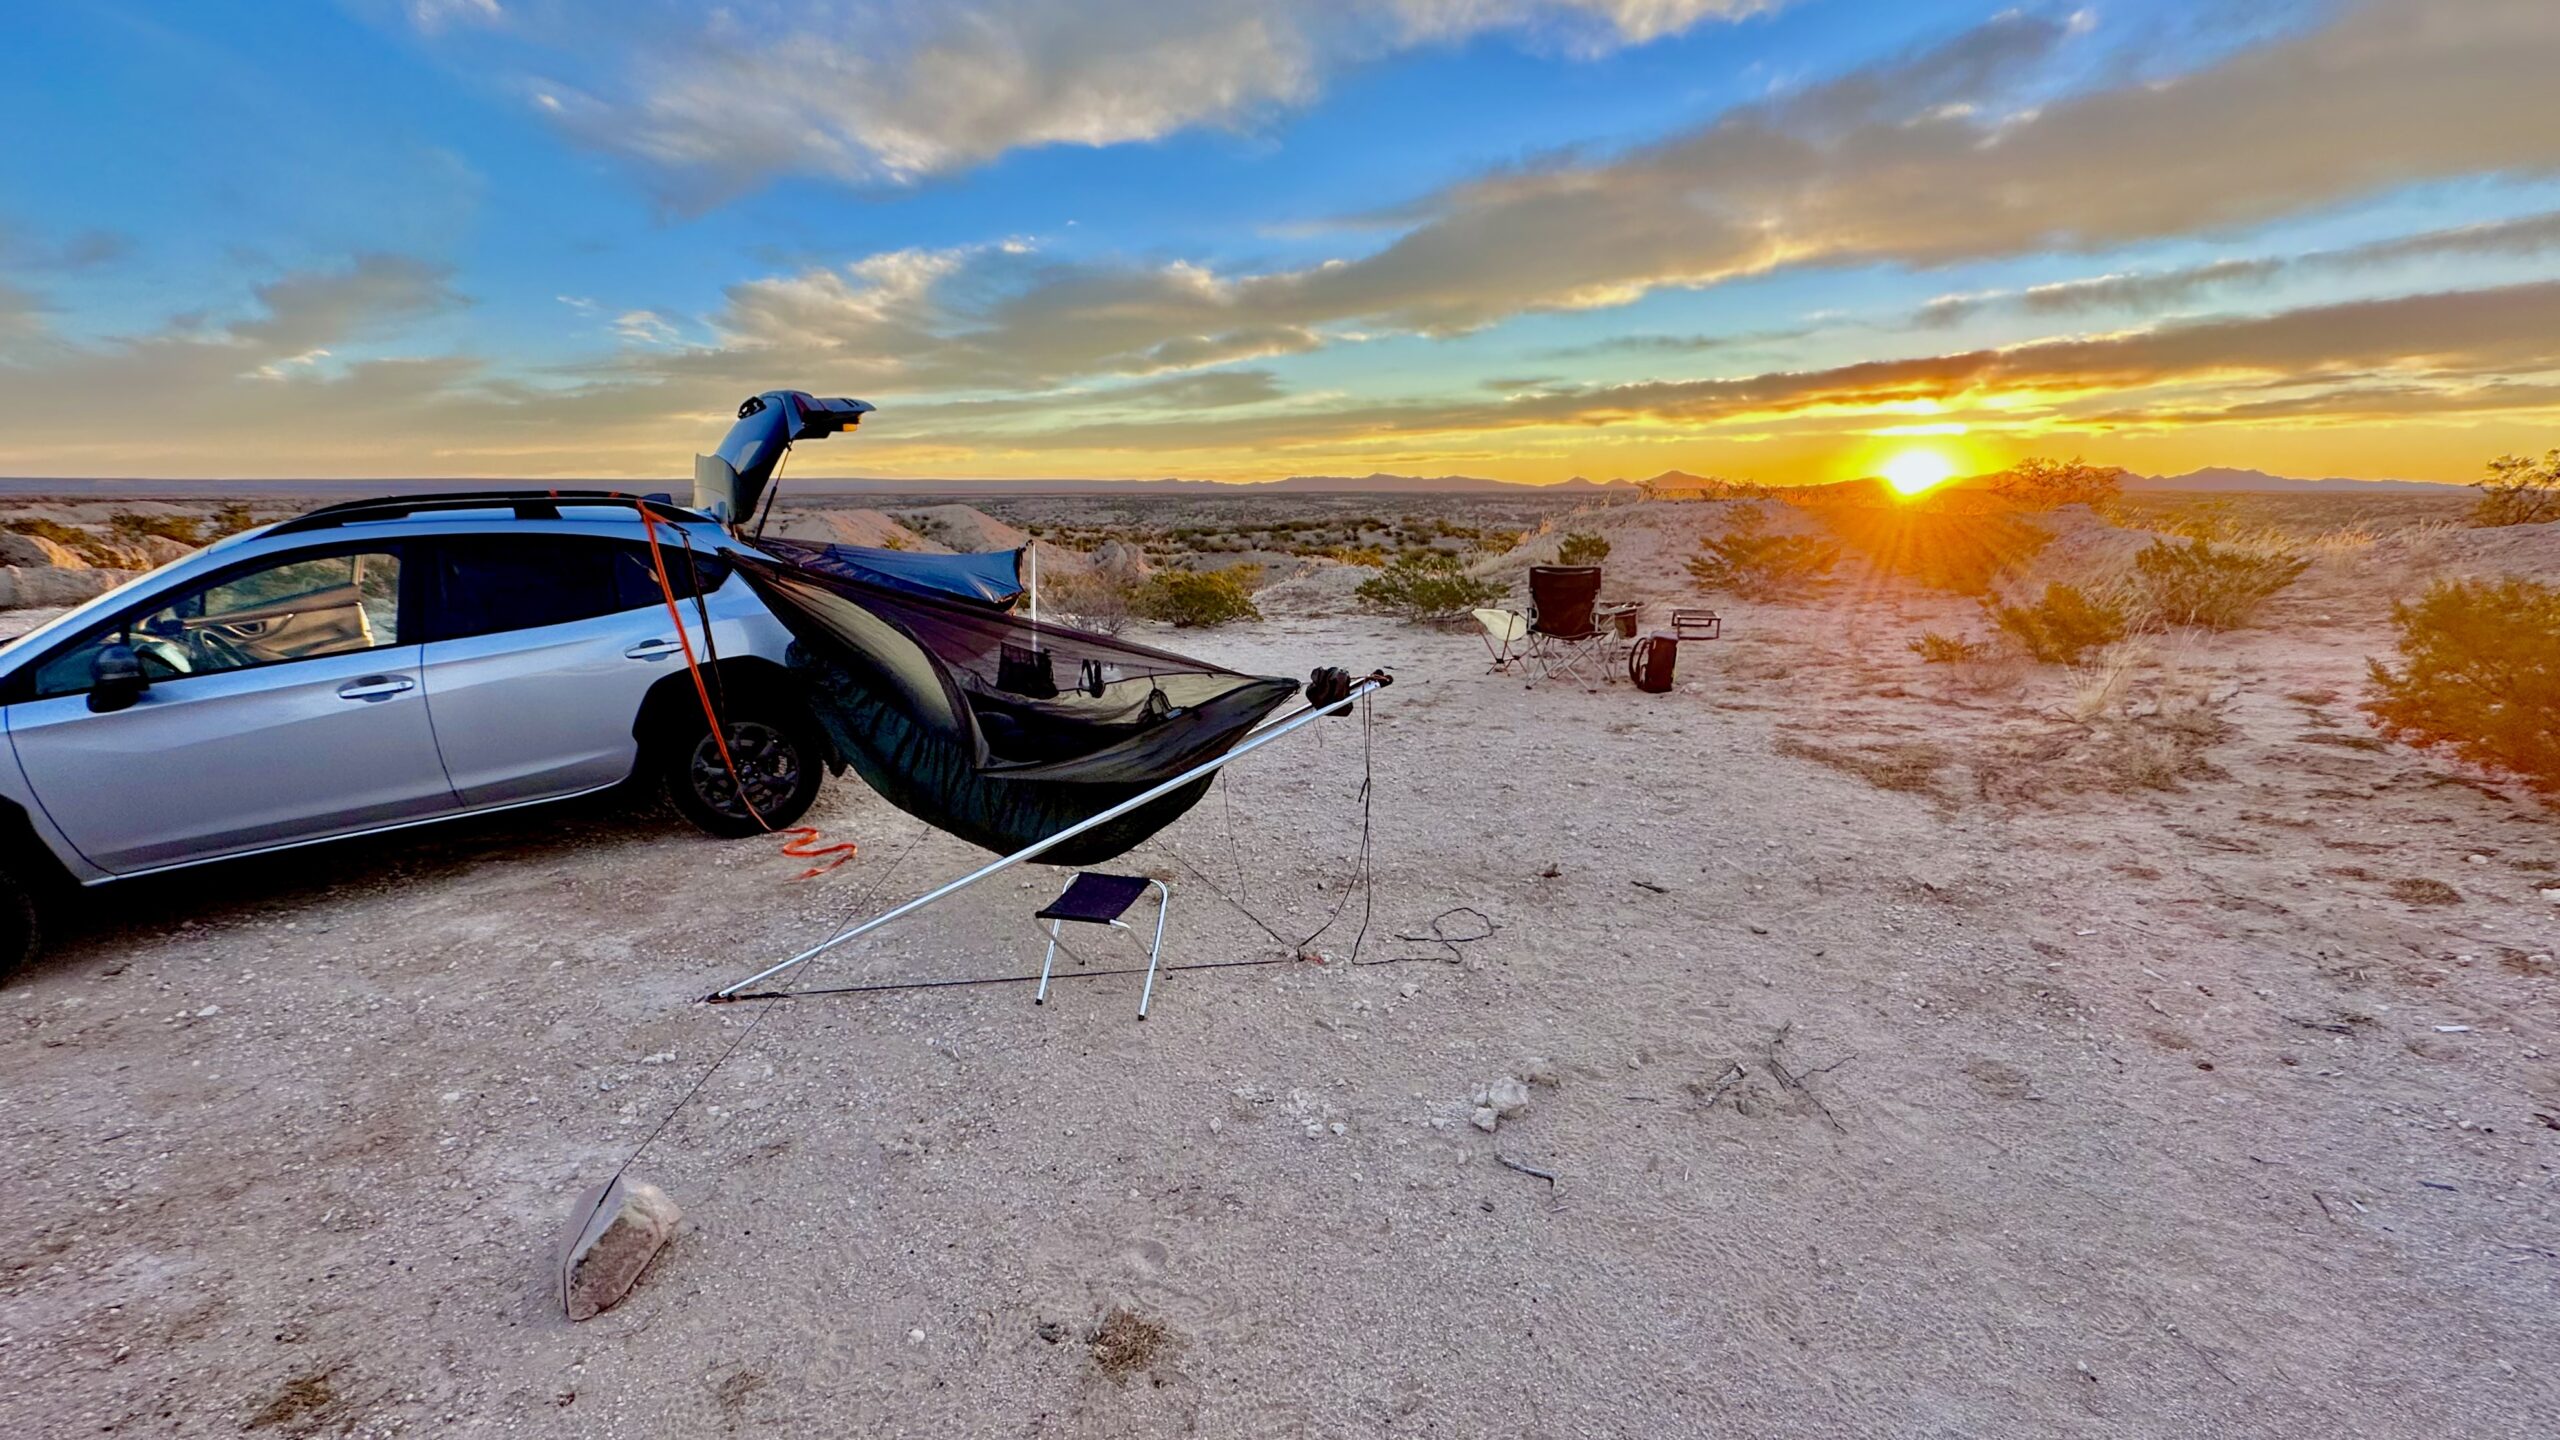
- Adaptability and value: Like standard Tensa4, compatible with up to 12′ gathered-end hammocks, splittable to hang two hammocks from a single support like a vehicle, and converts into Tensa Solo for hiking. Very easy to tilt hammock to suit desired amount of height difference between ends, even to extreme “chair mode.”
- Quick setup: Transforms from an easily stowable 5′ column into a full stand in about 30 seconds. Full setup or breakdown takes a few minutes.
- Solid tree-like feel: With a more fixed geometry, Tensa4-FS provides a secure, stable hang that’s less sensitive to adjustment, site, and technique than standard Tensa4.
How it works
The standard Tensa4 design uses four poles in compression (gray), and three lines in tension (orange: baseline, ridgeline, and foot-side guyline):

Tensa4 Freestanding replaces the ridgeline with a ridgepole, and the foot guyline with a head support pole. This forms a tripod, while shortened foot-side poles shift the center of mass well into the tripod for excellent stability:

Limitations
While standard Tensa4 works with gathered-end, bridge, and transverse hammocks, we support Tensa4-FS only for gathered-end types. Standard Tensa4 also supports tarps very well, while tarp support for freestanding mode is less simple. At minimum, our Tarp Extensions for Tensa4 are required even for 11′ tarps. Five poles compete for space at the head apex, which is crowded. We think Tensa4 Freestanding is most compelling indoors where tarps are not necessary. We suggest that users set up Tensa4 in whichever mode best suits their needs each time. There is no problem switching back and forth, as parts for both modes still fit in the carry bag.
DIY information
If you already own Tensa4, don’t want to wait for our modification kit, or you want to start with your own build, here’s what you need to know:
Ridgepole
- Length: Should be 7-10% longer than the hammock’s ridgeline (e.g., ~120″ for an 11′ hammock). Our kit includes a 127″ ridgepole, suitable for most 12′ hammocks.
- Material: 1″ EMT conduit should work. We haven’t worked out minimum diameters, wall thicknesses, material strengths to offer guidelines for various weight ratings. But our 9-stage telescopic ridgepole’s middle segment is 32mm OD, 1.5mm CS 6000-series aluminum, and we’ll warrant the kit up to 350lbs in the hammock.
- Attachment: Ensure the ridgepole connects securely to the stand’s apexes while allowing movement to prevent binding. We thread our Amsteel ball loop connectors through holes in the tubes’ end fittings.
Head support pole
- Size and strength: 48″ to 54″ tall, capable of bearing ~150 lbs. Options include stronger trekking poles like our Trekking Treez, our Tensa Solo, or tarp support poles. A broom handle? Our kit features a strap from the top with a height adjuster buckle, where the strap is also threaded into the connection point of the poles meeting at the head end.
- Stability note: Always check that the head support pole is vertical before entering the hammock, especially on smooth or hard surfaces.
Foot side poles
- Shorten the foot-side poles to about 87% of the head-side poles to improve stability, such as by not fully extending collapsible poles. Our kit includes newly designed feet to prevent damage to pre-2025 Tensa4 feet designs when loading incompletely extended poles.